After exploring plants in our environment, I wanted my students to understand how technology, robotics, and automation impacts our world and more narrowly, can be leveraged by farmers, engineers, and scientists and even hobbyists to take care of nature. We began our Micro: bits unit.
First off, I’d like to thank Tim Dixon, Dianne, and Elissa from SEC, Prince George County Public Schools, Maryland Dept of Ed, and the University of Maryland for introducing me to Micro: bits and sponsoring a class set! We are aligned in our passion for bringing computer science to English language learners and I look forward to more collaboration! Getting to know them and other amazing Maryland educators & CS researchers regularly has been an absolute highlight of this past year.
Micro: bits are small, programmable devices that can be used to teach students coding hands on. To introduce my students to them, we explored some easier projects before extending to the Self Watering Plant project. All projects and tutorials can be found in MakeCode.Microbit.org. We began with programming the light sensor–LEDs. Students programmed a flashing heart– then the letters in their name.
We watched the accompanying video in Edpuzzle and learned about the three functions of the LED: indication, communication, and illumination. Next, the students programmed the step counter project. In pairs they tested the Micro: bit by going to a designated location in the school–one student walked with the Micro:bit in their shoe and the other counted. They returned and learned how the accelerometer (motion sensor) is not very accurate and could be more sensitive. We then learned from the video in Edpuzzle that our phones also use accelerometers to rotate the screen! The third project was to program the temperature sensor. We had one student download the Room Temperature Thermometer app to compare the temperature data from our Micro: bits against the app. (Note: It’s only available for Androids–not the iPhone. I learned the hard way!) We began in our room, which anecdotally had the coldest room in the school. The first greeting upon entering into our room has devolved from “Good morning Ms. Sawyer!” To ‘It’s cold!!!” We went on a walk around the school– recorded the temperature in 5 different places, and returned to discuss our findings. Yep–room 207 is the coldest room in the school! The accompanying video taught us that the heat sensor is located in the processor which can skew the data–same with a phone’s heat sensor. Further-we know the technology behind why our phone’s black out at the beach!
Finally, Project 4 which grew from one project into a more complex version of the project. First we measured the soil moisture using electricity–there is no water sensor! We learned that when water and nutrients mix–they can carry electricity—and we can measure that electricity to determine if the soil is moist or dry. The students recorded their data. Then we expanded upon that project to create the complex Self Watering Plant project. As a class, we coded the project together, discussing precision and accuracy. Students checked their code line by line making sure their inputs were correct, practicing editing/ debugging skills. Then the students independently watched the tutorial on how to build the machine–pausing where needed. We came upon some frustration with the motor (the servo). We learned the hard way that if the lever isn’t positioned in the exact way the screen shows us, it will stall out. This caused a lot of frustration, but we did it–and I myself was surprised at how accomplished the students felt. I thought for sure this would be their least favorite project because of its length and intensity, but for many it was their favorite. This was my lesson. Kids like to do hard things!
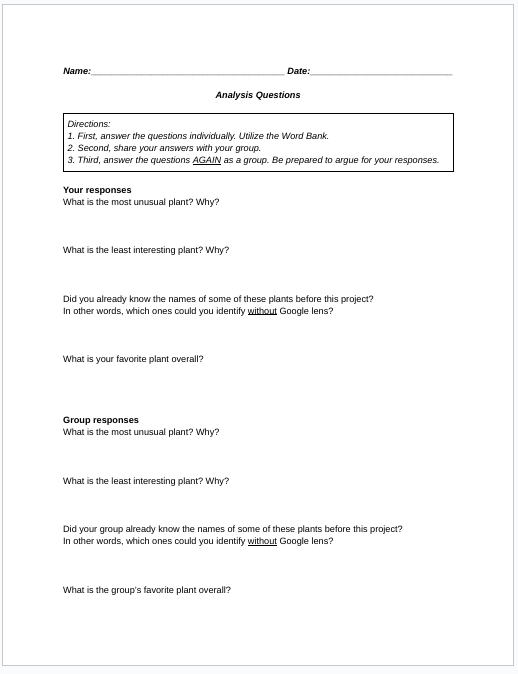
To reflect, the created a one-pager in a Google Slide (inspired by ELL 2.0) on the Micro bits: They listed the 4 projects, discussed their favorite project & why, discussed their least favorite project and why, and one they’d like to try in the future. They were to list 3 new words, include an image that represented the unit, and emojis.
This integrated unit was a hit! We learned the language of ELA, the language of science, and the language of technology and coding. We learned to express preference, reflect, follow directions, check for accuracy, make conclusions based on data, and explore our environment. We learned how to persist when there’s an error and more. The engagement was unparalleled–my students even forgot that we were learning and using English to learn about, execute, and analyze these functions! Like our plants, we grew.